Cereal Boxes
Most people throw away used packaging without a second thought. But what if that simple box in your pantry could become something useful? With a bit of creativity and some basic materials, you can turn ordinary food packaging into smart storage solutions for your home. It’s a fun, eco-friendly way to organize and reduce waste at the same time.
Benefits of Repurposing Packaging at Home
Repurposing packaging offers more than just a tidy space. First, it helps reduce waste. Instead of adding more to the trash, you’re giving something a second life. This is better for the planet. Second, you save money. You don’t need to buy expensive storage containers when you can make your own.
Using leftover boxes for storage is also a good way to teach kids about sustainability. It shows them how to reuse and get creative. They can decorate the boxes with paints or wrapping paper, turning it into a fun family project. This also helps develop their artistic and problem-solving skills.
Another benefit is how flexible this storage idea can be. You can cut and shape these boxes into different sizes to fit drawers, shelves, or even your desk. Whether it’s for holding pens, small toys, cables, or craft items, the possibilities are endless. You can also label the boxes for easier organization.
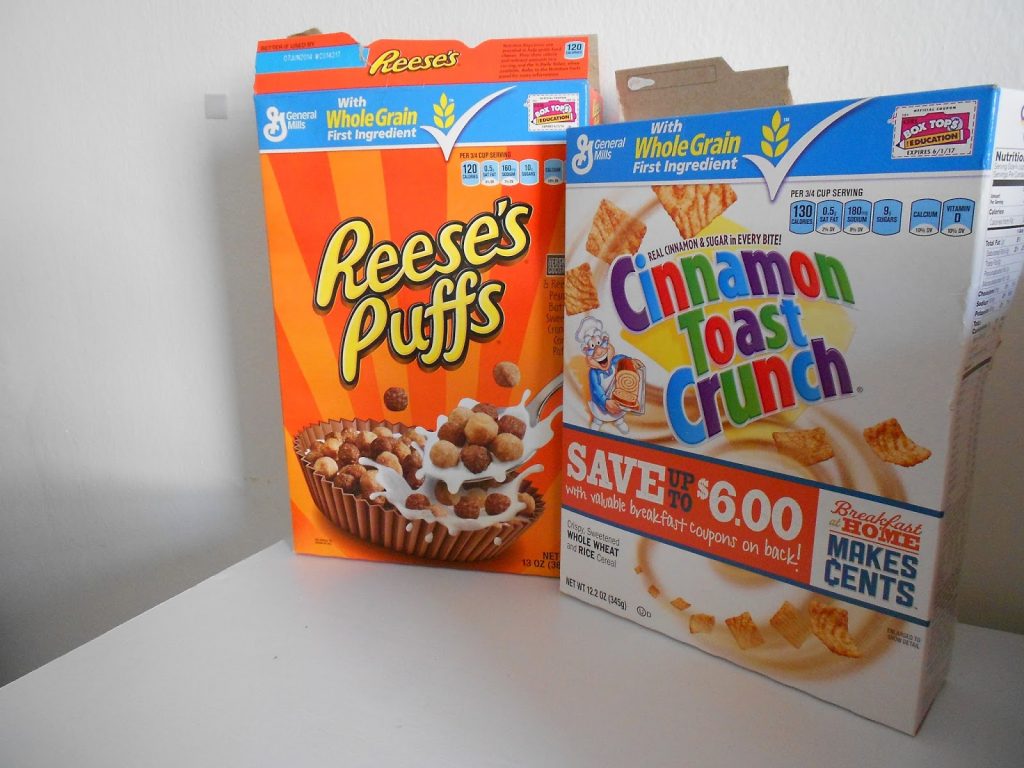
Choosing the Right Box Shape and Size
The first step in making a storage container is selecting the right box. Some are large and flat, while others are taller and slimmer. Think about what you need to store before picking the box. For example, if you’re planning to store papers or letters, flatter boxes will work better. For cables or other tech items, choose one that’s taller and deeper.
It’s also important to check the box’s condition. Choose one that isn’t torn or crushed. The sturdier it is, the longer it will last. Make sure the edges are not too worn down. A strong box forms the base of a long-lasting organizer.
You can even mix and match different box sizes to create a modular system. Stack smaller boxes inside a larger one to organize things by category. This way, you avoid clutter and make better use of space. Think of it like building blocks — stackable and easy to move.
Don’t worry if the box doesn’t look perfect at first. Once you cut it into the shape you want and cover it with paper or fabric, it will look brand new. Just be sure it suits the function you have in mind. That way, you avoid redoing your work later.
Tools and Materials You’ll Need
Turning boxes into storage doesn’t require special tools. Most of what you need is already in your home. Start with a good pair of scissors or a craft knife. These will help you cut clean lines. A ruler or measuring tape will make your cuts more accurate.
You’ll also need glue or double-sided tape to stick things together. A glue gun can help if you’re working with heavier items, but it’s not required. Next, get some decorative paper, fabric, or wrapping paper. This is how you’ll cover the outside of your storage box. Choose patterns or colors that match your room decor.
Markers or labels are useful for marking what’s inside each box. This way, you don’t need to open every box just to find one thing. If you want extra durability, consider using clear contact paper or mod podge to seal the outside after decorating.
Here’s a short list of the basics:
- Scissors or a craft knife
- Ruler or measuring tape
- Glue, glue stick, or double-sided tape
- Decorative paper, fabric, or wrapping paper
- Markers or labels for organizing
- Optional: contact paper or mod podge for extra protection
Gathering your materials ahead of time saves you from stopping in the middle of the project. You don’t need to spend a lot. Many of these tools are common in most homes. If not, they can be found cheaply at a local dollar store. This makes the whole idea even more budget-friendly.
Step-by-Step Guide to Building Your First Organizer
Once you have all your tools ready, it’s time to start building. First, decide what type of storage you need. Are you creating a mail sorter, a drawer divider, or a desktop caddy? Knowing this will guide your cuts and design.
Begin by cutting the box to the right height. Use a ruler to mark a straight line around the box. Then carefully cut it using scissors or a knife. If the box has flaps, you can either fold them inside or cut them off completely.
Next, strengthen the inside. This is especially helpful if you’re storing heavier things. Glue an extra layer of cardboard inside the bottom. You can even glue another box inside for double strength.
Now it’s time to decorate. Wrap the outside with your chosen paper or fabric. You can use glue or tape for this. Try to smooth out any air bubbles as you go. Once wrapped, seal it with contact paper or a thin layer of mod podge for a longer-lasting finish.
Finally, label your new storage solution. Use a marker, printed tag, or sticker label. This small step makes a big difference, especially if you plan to make several boxes.
Creating Drawer Dividers and Organizers
Drawers can become messy fast, especially when there are no dividers. Instead of buying plastic trays, make your own using spare boxes. First, measure the inside of the drawer. Write down the width, length, and depth. This helps you plan how many sections you can create.
Cut the boxes into open trays based on your measurements. Each tray should fit tightly next to the other. You don’t want them to slide around when you open the drawer. You can also glue the trays together for added stability.
This method is great for organizing office supplies like pens, paper clips, or sticky notes. It also works well in kitchen drawers for cutlery or small gadgets. You can even use it in the bathroom to sort hair accessories or makeup.
Once cut, decorate each piece before placing it inside the drawer. Use the same color for all to create a clean look. Or, use different colors for each section so you know where each item belongs.
Desk and Office Hacks Using Recycled Boxes
A messy desk can lower your focus. Good storage makes a big difference in keeping things neat and boosting your productivity. With some simple steps, you can use old packaging to build smart office storage.
Start with a basic box to hold letters and papers. Cut the top at a slant, like a magazine holder. Cover it with neutral-toned wrapping paper to match your desk. Add a label so you can sort your documents into types — bills, notes, or to-do lists.
You can also make pen holders. Use small cut-down boxes to separate pens, scissors, and highlighters. Want to keep tech items like chargers or USB sticks in one place? Make a divided tray that fits in your drawer.
This method works well because each item has its own place. It keeps your workspace clean and saves time searching for things.
Organizing Your Craft and Hobby Supplies
If you love crafts, you know how messy supplies can get. Threads, ribbons, glue sticks, and beads all need their own place. The good news is, you can create perfect holders using materials you already have.
Start by cutting open a wide box and creating smaller sections inside. Use bits of cardboard to form dividers. These can be glued in place to form compartments. Each section can hold different items like brushes, buttons, or glitter.
Cover the outside with fabric or paper that matches your craft room. Label the compartments if needed. This helps you grab what you need without digging through piles of stuff.
You can also make ribbon holders. Cut small holes in a box, thread the ribbons through, and pull as needed. It keeps ribbons from getting tangled and makes it easy to see your colors.
A taller box works well for tools like glue guns, rulers, or cutting mats. Store them upright to save space. Create a matching set of boxes for all your craft supplies and line them up on a shelf. It turns a cluttered space into a clean, inviting work area.
Storage for Kids’ Rooms and Toys
Children’s rooms often have toys and tiny items scattered everywhere. Organizing them can feel like a never-ending job. But simple DIY boxes can bring order without needing expensive bins.
Choose larger boxes to hold plush toys or books. For smaller items like action figures, cars, or puzzle pieces, cut boxes into shallow trays. Stack them on shelves or under the bed.
Involve your child in decorating. Let them paint the boxes or cover them in stickers. When kids help create their own organizers, they’re more likely to use them. Label each box with pictures if your child can’t read yet. This makes cleanup easy and fun.
You can also create themed organizers. One for cars, one for dolls, and another for blocks. Place them in a row and rotate the toys regularly to keep things fresh.
Eco-Friendly Living Through Creative Storage
Using recycled materials at home is a small but powerful step toward greener living. By turning used boxes into helpful storage, you reduce waste and set an example of thoughtful living.
This practice supports sustainability. Every time you reuse something instead of buying new, you reduce the demand for production. Less production means fewer resources used and less pollution.
It’s not just about the environment, though. It’s also about being mindful with what you already have. Making your own storage solutions encourages slower, more intentional living. It teaches patience, creativity, and the value of small actions.
When others see your clever home solutions, they might be inspired to try the same. This creates a ripple effect. One small act can lead to a more sustainable community.
Conclusion
Turning everyday packaging into useful storage is more than just a crafty idea — it’s a smart and sustainable way to organize your life. With just a few tools and a little creativity, you can transform simple items into customized solutions for every room in your home. Whether you’re organizing your desk, sorting out a messy drawer, or creating fun storage for your child’s toys, the possibilities are endless.
This approach doesn’t just save money; it also reduces waste and helps protect the environment. Each time you reuse rather than throw away, you’re making a positive impact. Plus, these DIY projects allow you to express your personal style and create storage that truly fits your needs.
Click Here: https://ibexpackaging.com/cereal-boxes/