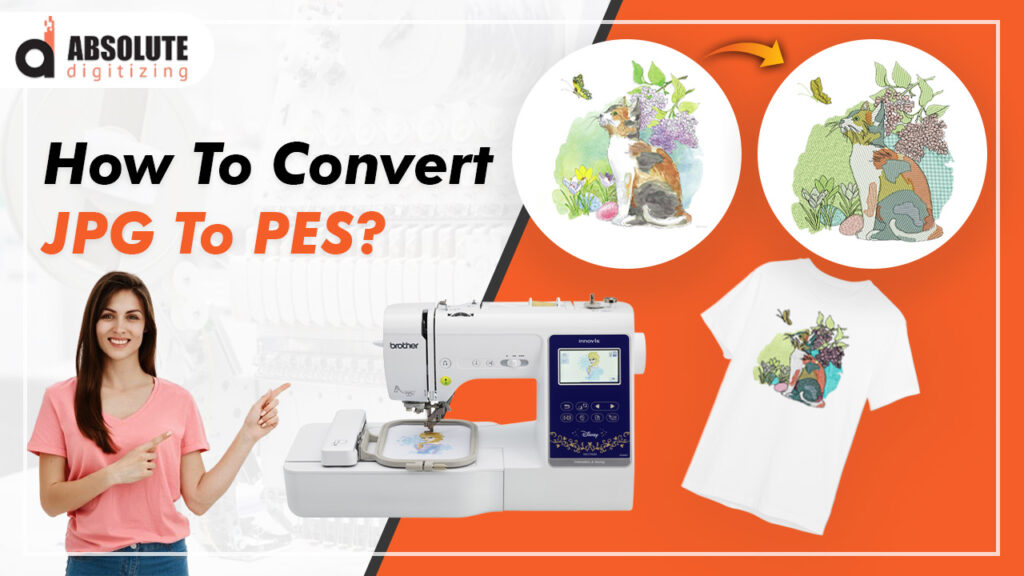
So you’ve got this awesome JPG image you want to stitch out on your Brother embroidery machine, but there’s just one problem – it needs to be in PES format first. Don’t worry, converting images to embroidery files isn’t as complicated as it sounds, and I’m going to walk you through every step of the process. Whether you’re looking to stitch out a company logo, a custom design, or just a fun graphic, this guide will tell you how to convert JPG to PES embroidery file in no time.
First things first – let’s talk about why you can’t just slap a JPG file directly into your embroidery machine. Digital images and embroidery files work in completely different ways. Your JPG is made up of pixels – tiny squares of color that blend together to form an image. Embroidery machines don’t work with pixels though – they work with stitches. That’s where PES files come in. These special files contain all the instructions your Brother machine needs to recreate your design in thread, including stitch types, directions, color changes, and more.
Understanding the Conversion Process
Converting a JPG to PES isn’t just a simple file format change – it’s actually a process called digitizing. This is where your flat image gets translated into stitches that can be physically sewn onto fabric. Good digitizing makes all the difference between a professional-looking embroidered piece and something that looks like a pixelated mess.
There are three main ways to convert your JPG to PES:
- Using auto-digitizing software (quick but less precise)
- Manual digitizing (time-consuming but highest quality)
- Hiring a professional digitizing service (best for important projects)
For most hobbyists and small projects, auto-digitizing software strikes the right balance between convenience and quality. But if you’re working with company logos or designs that need to look perfect, you might want to consider manual digitizing or professional services.
Choosing the Right Software
There are dozens of programs out there that can convert JPG to PES, ranging from free options to professional-grade software costing thousands of dollars. Here’s a quick rundown of some popular choices:
Free/Cheap Options:
- SewArt (about $50, decent auto-digitizing)
- Ink/Stitch (free Inkscape extension)
- MyEditor (online conversion tool)
Mid-Range Options:
- Hatch Embroidery ($200-$500 range)
- Embrilliance (great for Mac users)
- Bernina ArtLink
Professional Options:
- Wilcom EmbroideryStudio
- Pulse Ambassador
- Tajima DG/ML
For beginners, I’d recommend starting with SewArt or Hatch Embroidery. They’re affordable but still powerful enough to give you good results without a steep learning curve.
Step-by-Step Conversion Process
Let’s walk through converting a simple JPG to PES using SewArt (the process is similar in most programs):
Prepare Your Image
- Open your JPG in an image editor first
- Crop out any unnecessary background
- Increase contrast if needed
- Save as PNG for better quality
Import Into SewArt
- Open SewArt and click “Import Image”
- Select your prepared file
- Use the magic wand tool to remove background if needed
Auto-Digitize
- Click the “Auto-Digitize” button
- Select stitch type (fill or satin)
- Adjust settings like stitch length and density
Clean Up the Design
- Zoom in and check for stray stitches
- Use editing tools to fix any problem areas
- Simplify complex sections if needed
Save as PES
- Go to File > Save As
- Select PES format
- Choose the correct version for your machine
Pro Tips for Better Conversions
After converting hundreds of images to PES files, here are my top tips for getting the best results:
- Start with high-quality images – The clearer your original JPG, the better your embroidery will look. 300dpi resolution is ideal.
- Simplify complex designs – Embroidery can’t replicate photographic detail. Reduce colors and simplify shapes before converting.
- Mind your stitch count – Large fill areas with high density can make stiff, uncomfortable embroidery. Keep stitch counts reasonable.
- Test on scrap fabric – Always stitch out a test on similar fabric to what you’ll use for the final product.
- Consider fabric type – The same design might need different settings for stretchy vs. stiff fabrics.
Common Problems and Fixes
Even with the best preparation, you might run into some issues. Here’s how to handle the most common ones:
Problem: Design looks pixelated when stitched
Fix: Increase image resolution before converting or manually clean up jagged edges in the digitizing software
Problem: Thread keeps breaking
Fix: Reduce stitch density or adjust tension settings on your machine
Problem: Fabric puckers around design
Fix: Add more underlay stitches or use better stabilizer
Problem: Small details disappear
Fix: Enlarge the design or simplify tiny elements
Problem: Colors don’t match original
Fix: Manually adjust thread colors in the PES file before stitching
When to Hire a Professional
While DIY conversion works for many projects, there are times when it’s worth paying for professional digitizing:
- Company logos or branding materials
- Complex designs with many colors
- Very small or very large designs
- Specialty items like 3D puff embroidery
- When you need multiple size variations
Professional digitizers typically charge $15-$50 per design but can save you hours of frustration and wasted materials. They’ll also provide optimized files that stitch out faster and look better.
Advanced Techniques
Once you’re comfortable with basic conversions, you can explore more advanced techniques:
Manual Digitizing: Instead of relying on auto-digitizing, manually plot each stitch for perfect control over the design.
Stitch Editing: Open PES files in editors like PE-Design to fine-tune individual stitches.
Multi-Hooping: Break large designs into sections that can be stitched separately and assembled.
Lettering: Add text that follows curves or special embroidery fonts.
Maintaining Your PES Files
After putting in all this work to create your PES files, you’ll want to keep them organized:
- Create a logical folder structure
- Include design notes in file names
- Back up to cloud storage
- Keep original JPGs with their PES versions
- Document thread colors used
Final Thoughts
Converting JPG to PES opens up a world of creative possibilities for your embroidery projects. While the process has a learning curve, modern software makes it more accessible than ever. Start with simple designs, be patient with yourself as you learn, and don’t be afraid to experiment. Before long, you’ll be turning all sorts of images into beautiful embroidered creations.
Remember – the secret to great embroidery isn’t just in the conversion, but in understanding how stitches interact with fabric. Each project will teach you something new, so embrace the learning process. Happy stitching!